To cook, you need fire — there’s no way around it. Lighting fires is not common knowledge nowadays and it can get especially hard with unfavourable weather or low-quality firewood. Today, I’ll show you two ways to light a campfire — not only for cooking, but for whatever you want.
But before we get into the techniques, I have to tell you a bit about the tools and materials you’ll need.
Fire source
It can be simply a lighter. A robust, gas or petrol-fueled lighter is the most reliable option and I really recommend carrying one with you.
If you want to use matches, remember to put them in a watertight container, cause water and humidity will make your matches unusable. You can also dip your matches in candle wax— it will preserve the tip and, once lit, extend the burning time. Just remember to take off the wax from the match’s tip before use.
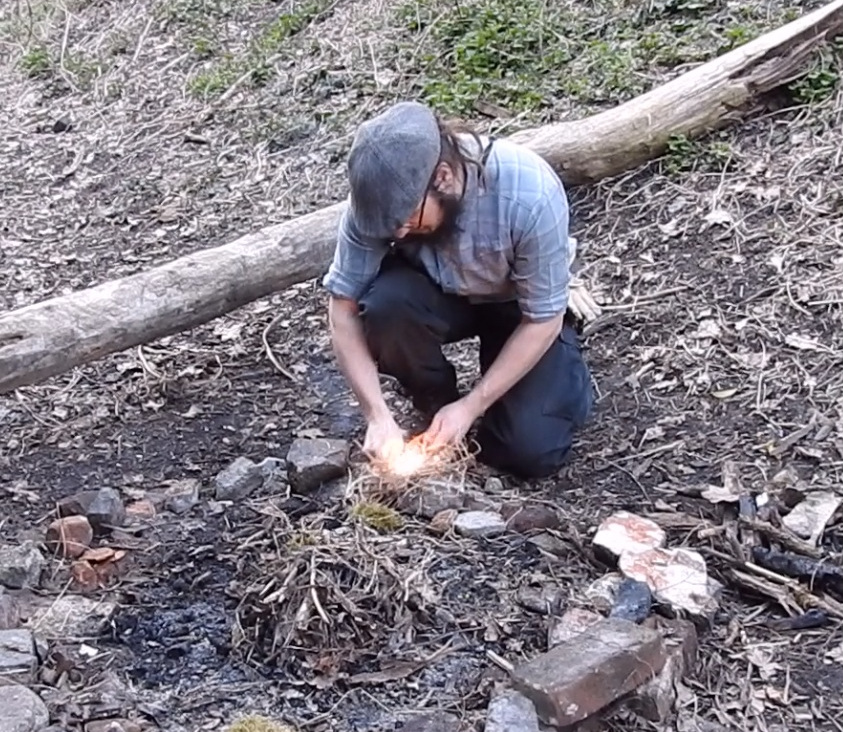
If you want something that’s mostly indestructible and waterproof, choose a ferro rod. It requires a bit of practice and a bunch of dry material to make a fire. The scraper should be robust and made of carbon steel, with a slight sharp curvature on the edge. If you don’t have any scraper, you can use the back side of your knife, just make sure the edges are not completely blunt. To make sparks, press the scraper with its sharp edge against the rod and push the scraper forward swiftly without releasing the pressure on the rod. Alternatively, move the rod toward yourself and against the scraper. If no sparks appear, try changing the angle of the scraper and find the setting that produces the most sparks. To light a fire you should catch those sparks with some tinder. It should be very fine and dry tinder like hay, birch bark scrapes, feathered sticks, or cotton strings.
You can also try some traditional methods like flint and steel, bow drill, or other friction methods, but I’ll save that topic for a separate article. For now, practice with the 3 tools mentioned above: lighter, matches, and ferro rod.
Tinder
Use stuff that’s dry and easily catches fire. Don’t use petrol, plastic, rubber, or any other synthetic materials — they burn well, but produce lots of harmful gases while burning. Use natural tinder. The best options are:
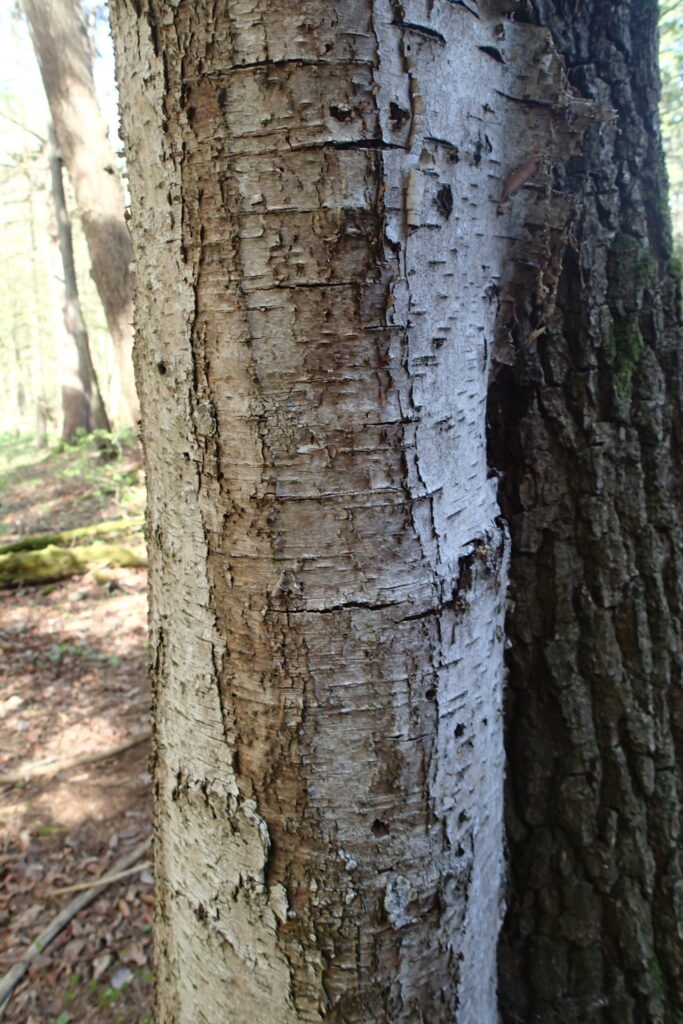
- Thin and dry bark — The best bark for fire lighting is birch bark, as it burns excellently. However you can also use bark from other trees, but it must be a paper-thin, dry bark that comes off the tree by itself, otherwise it will not burn well.
- Fatwood — This is a piece of pine wood that is soaked with natural resin. It can be found in rotten pine stumps as the only hard part left, or in gnarls and knots of the tree. The resin by itself also burns great, but it doesn’t catch fire as easily as fatwood. This tinder will burn for a long time, which is especially useful when working with damp wood or in bad weather.
- Wax — Wax needs a very high temperature to burn by itself, but when it melts it produces fumes that will burn a lot easier. That’s why candles can burn for so long — the wick alone would not burn for very long, but the wax or paraffin fumes sustain the flame. To make a tinder using wax or paraffin, you have to combine them with some sort of fibre material, e.g. cotton, cardboard, wood, cloth etc. The easiest and most effective ones are cotton pads half-dipped in wax/paraffin — the unwaxed part will easily catch fire and act like a wick, you can also spread out the pad and ignite it with a ferro rod. If you have no wax, you can also use fat for similar results.
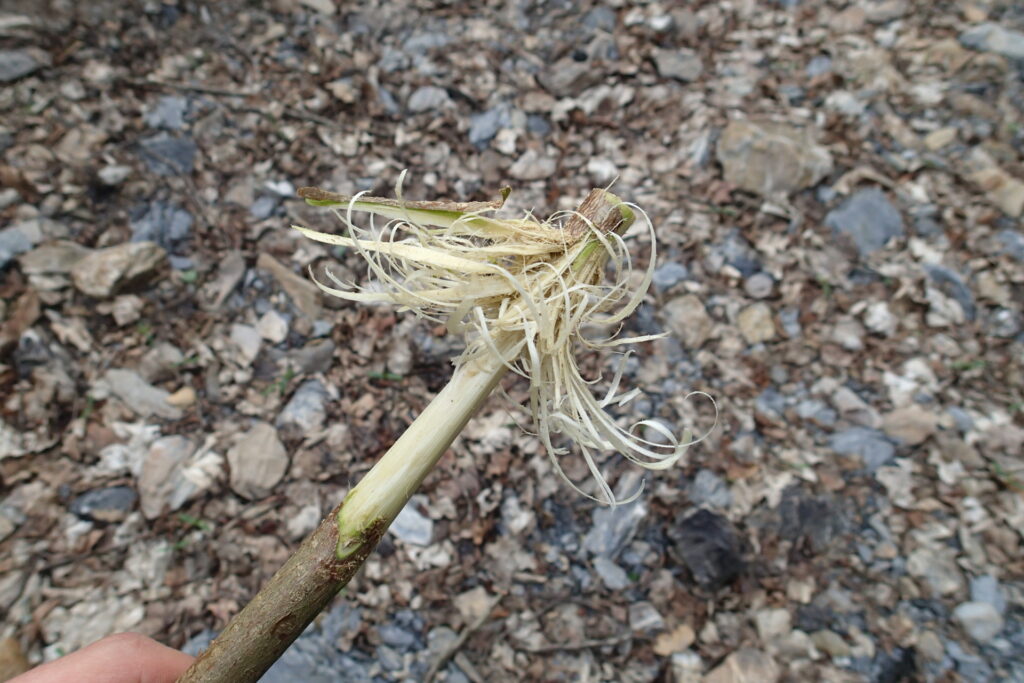
- Feathered sticks — To make a feathered stick, embed your knife in a tree stump, take a thin stick (it can’t be rotten, but can be freshly cut from the tree) and pull it against the blade of your knife to make long and thin shavings. Don’t pull the stick all the way back, cause you want the shavings to stay attached to the stick. After your stick looks similar to the one in the photo below, it’s ready to ignite.
- Needles, hay, leaves and other plant material — As long as the plant material is fine and completely dry it should catch fire easily. However, even humid air can make them useless — they absorb the moisture very easily and, instead of bright flames, they’ll produce thick smoke. That’s why I recommend using things like dry grass or pine needles only in dry conditions
- Touchwood — Dried, rotten wood is also a great fire starter. It won’t burn, but will start to smoulder and turn into fine embers. You can use those embers to make fire by placing them in a handful of fine tinder and blowing into it.
Firewood
Of course, the best wood is the seasoned one. You can take your own dry, seasoned wood of preferred species, but it’s only possible when cooking in your garden, or traveling by car and cooking in close proximity of the vehicle. Use a hatchet and a knife to split the wood into smaller pieces to make kindling.
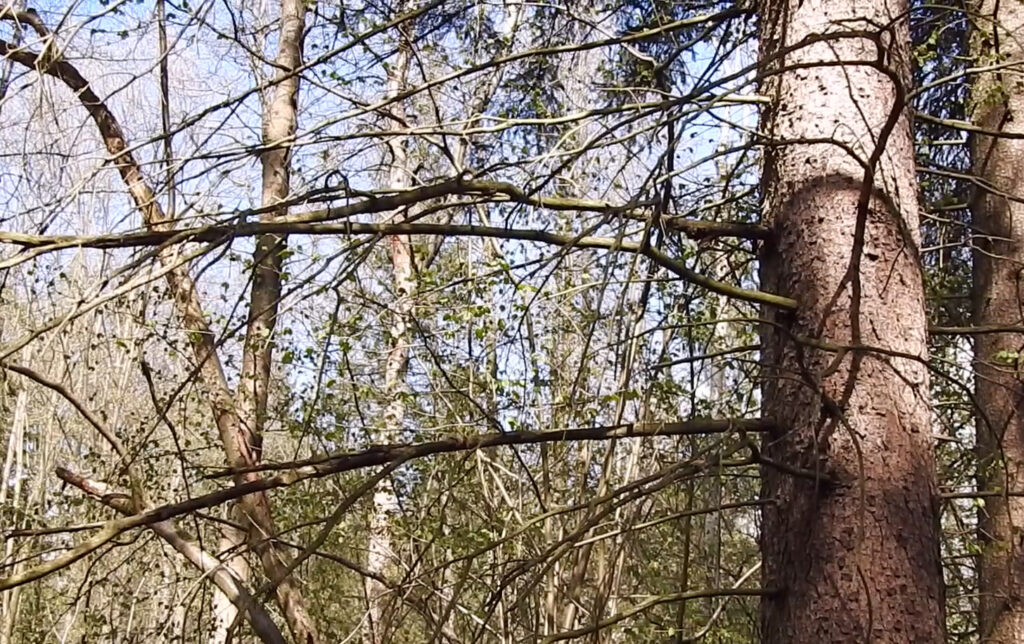
Most of the time you won’t be lucky enough to have a nice, chopped firewood ready to use. You’ll have to collect the fuel from the surrounding area. The best source of fuel are dead trees that remain upright and dead branches still attached to the tree. They’ll be the most dry and seasoned firewood you can find in the forest. When collecting wood lying on the ground, make sure it’s not wet or affected by fungi. To check if the wood is wet or not, take one of the branch ends with its cross-section exposed, then put your lips or chin against the cross-section and hold them there for a while. If the wood becomes warm fast, it’s dry. However, if the wood remains cold for a long time or you feel the humidity of the wood on your skin, the wood is wet and shouldn’t be used unless dried.
If possible, gather wood both from conifer and deciduous tree species. Generally, conifer wood burns faster and with a higher, brighter flame, while deciduous wood burns slower, but produces more heat and embers to cook on (of course there are numerous exceptions to this rule, but in most cases it works). Use them interchangeably to control the temperature of your campfire.
Don’t use fresh wood from living trees and branches with a distinct green layer under the bark — they are not seasoned at all and won’t burn well.
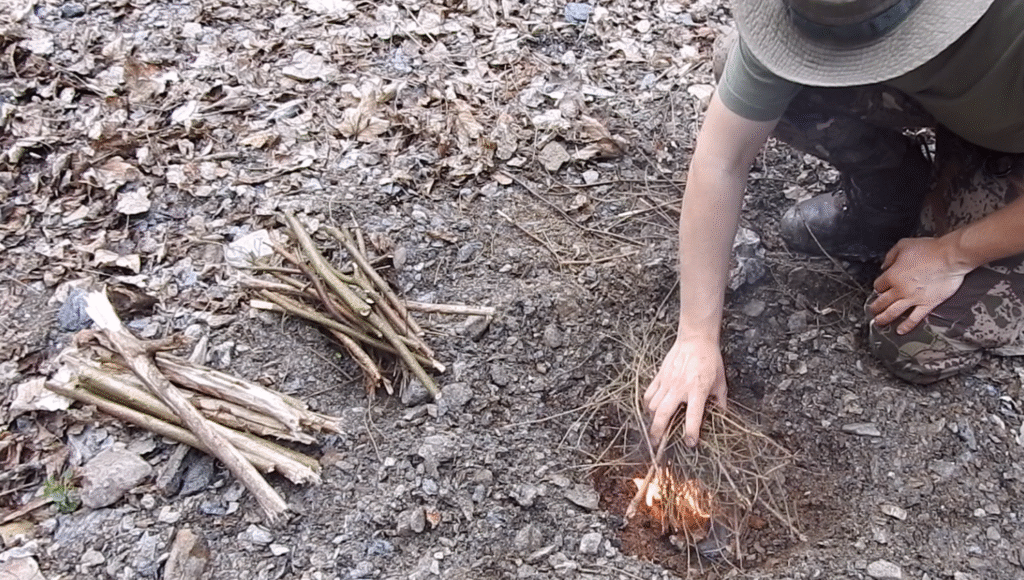
Lighting a fire
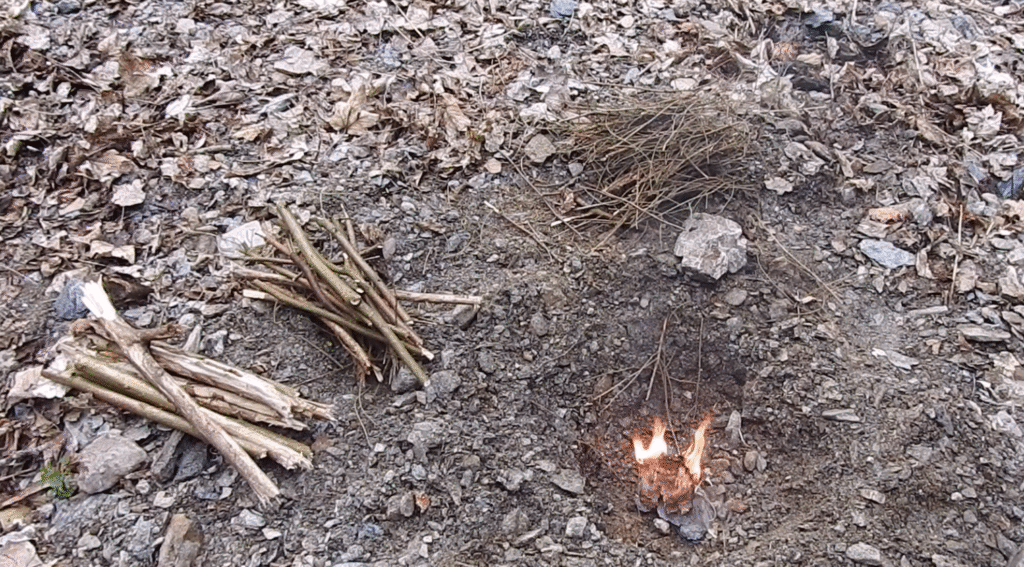
The first approach to lighting campfires that I want to show you is the easiest one. Before lighting prepare tinder, kindling and firewood of varying sizes, dividing them into a few separate piles, each one being composed of slightly larger sticks. Place your tinder in the fire pit and set it on fire. When the fire catches it and the flames become high, place the pile of the thinnest sticks on top of the fire. When they catch fire and flames become high, place another pile of slightly thicker sticks on top of it. Wait for them to catch fire, apply another pile and so on, till you use thick branches that will produce nice embers.
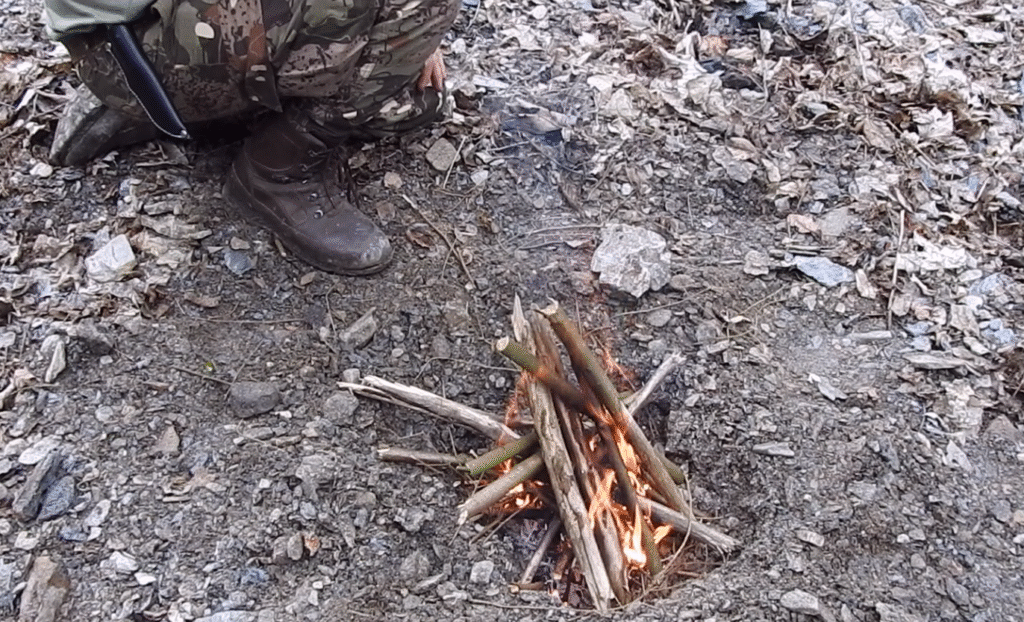
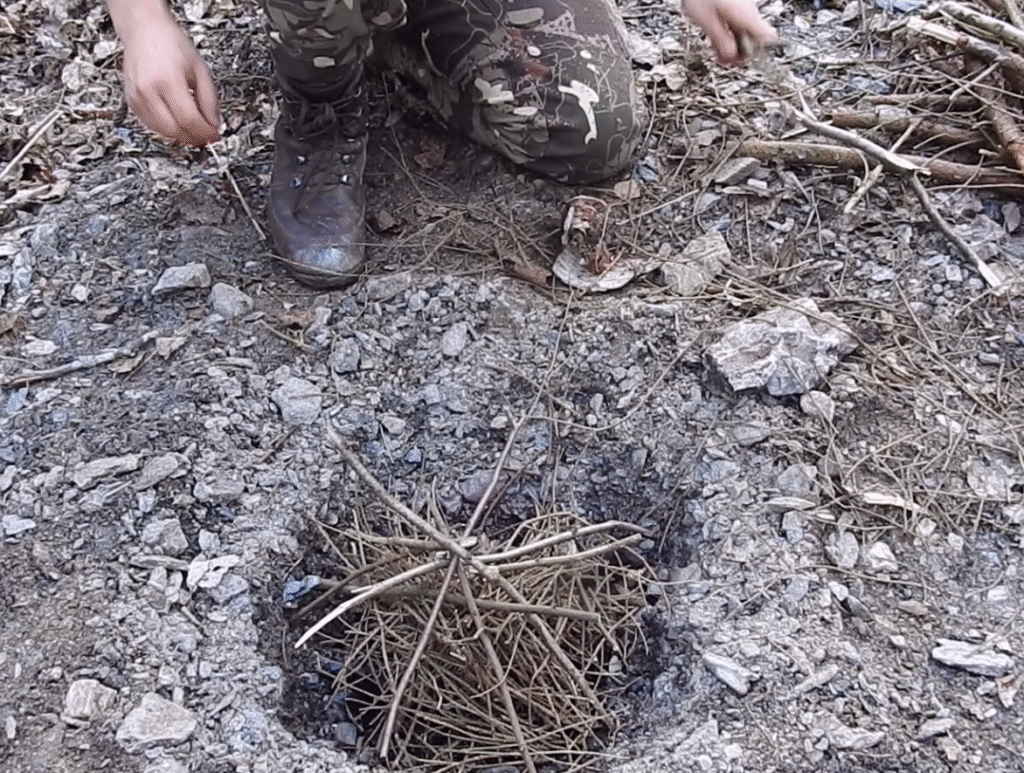
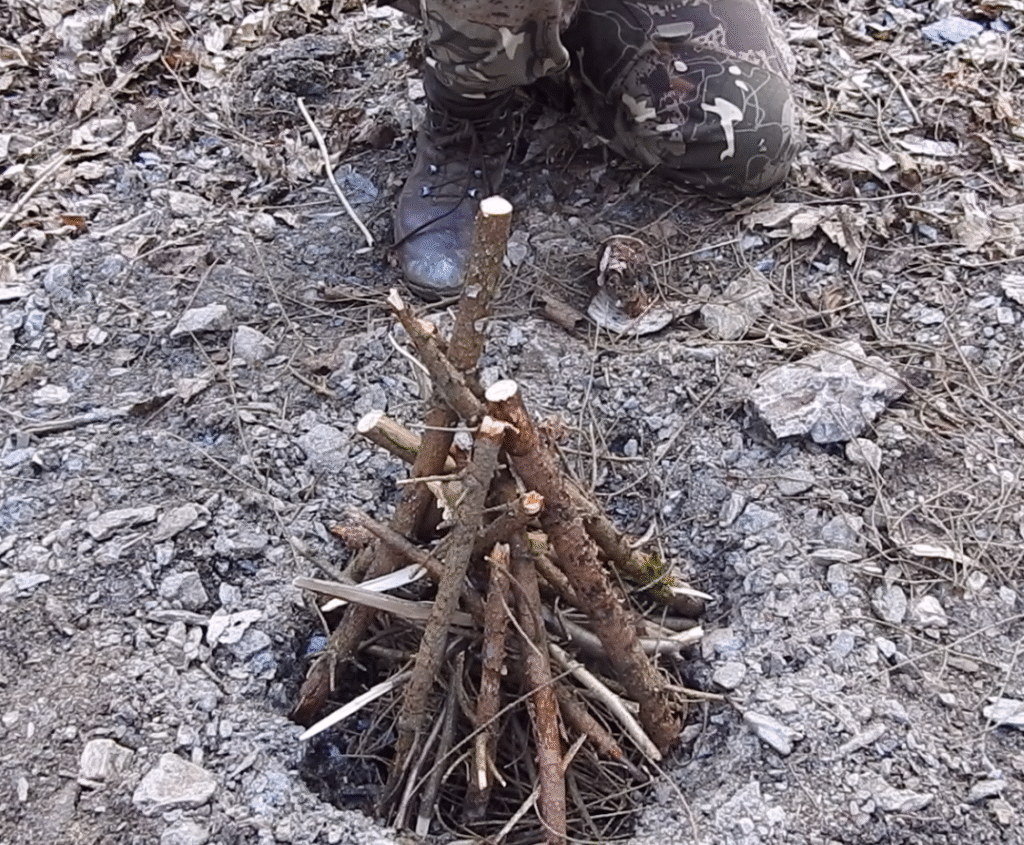
The second approach will be a little more challenging, cause you have to build the campfire before you light it. Place the tinder in the fire pit, then start adding layers of sticks, beginning with the thinnest ones and gradually adding thicker ones. Arrange the sticks in a star pattern, crossing them over the tinder, so that with more layers, the structure will become increasingly vertical. Remember to leave a small hole on the windward side of the stick pattern, cause you’ll need access to the tinder to ignite it. After you build a structure similar in shape to a teepee tent, you are ready to light it. The advantage of this method is that you can make a campfire that you can light at a later time. Additionally, once ignited , it won’t require your full attention as the first method does.
A few more tips
- Add fuel when the flame is high. Don’t wait until the fire goes out or becomes very low. If you want your campfire to grow and produce more embers and heat, add fuel as soon as the previous layer of sticks bursts into flames. Stop adding firewood when you feel you have enough embers for your cooking project.
- The worse the weather is, the more kindling you need. If the temperature is very low, the wood is wet, or it’s windy, use way more fine kindling and tinder than usual. Your fire will struggle to ignite larger pieces of wood, but the kindling will give the flame some extra time to bite into the fuel.
- Don’t fear the flames. Don’t throw new sticks into the fire as though the flames are a lethal threat, killing you with one touch. Become familiar with them, move your bare hand through them to understand that you won’t get burned if you act swiftly. Place new fuel exactly where you want it to go.
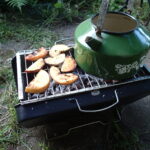
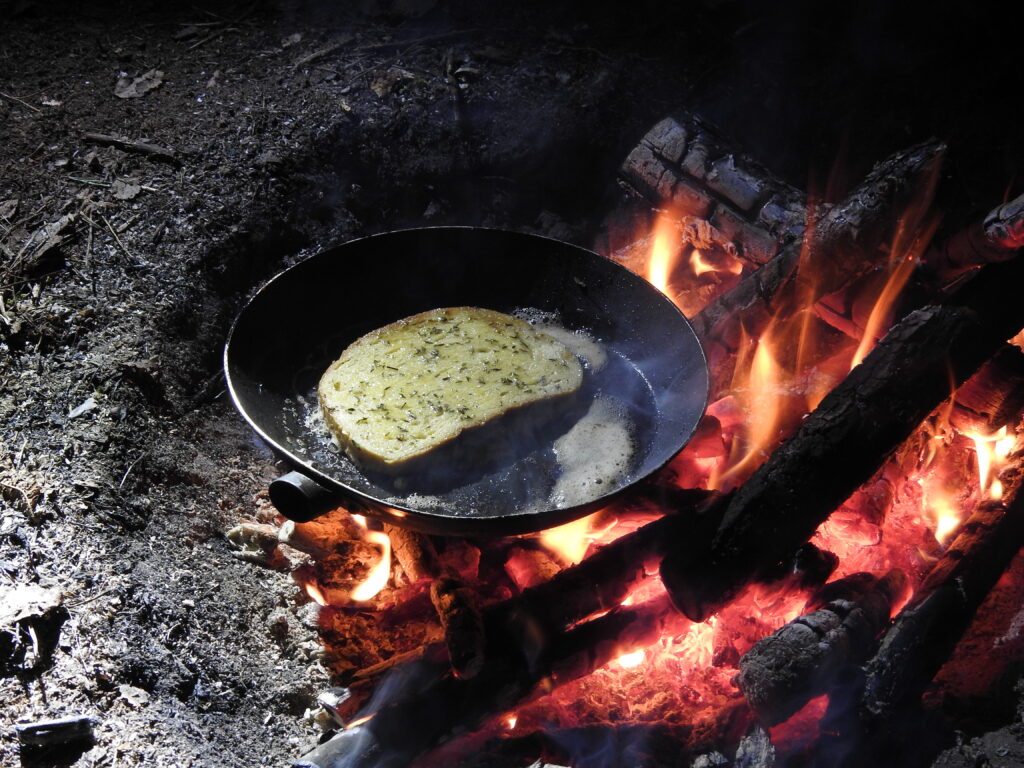
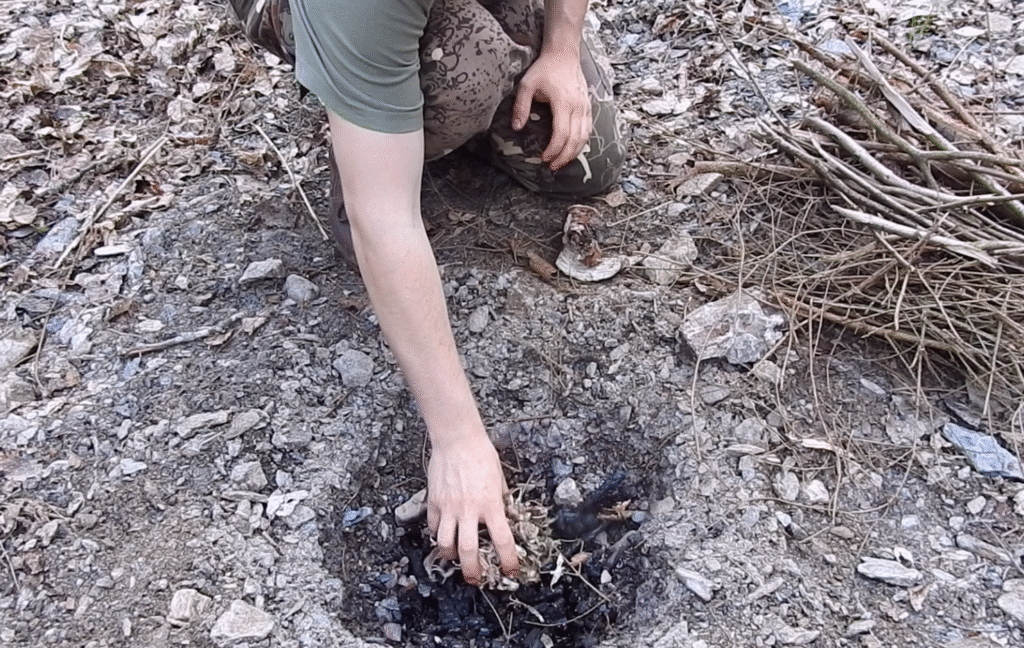
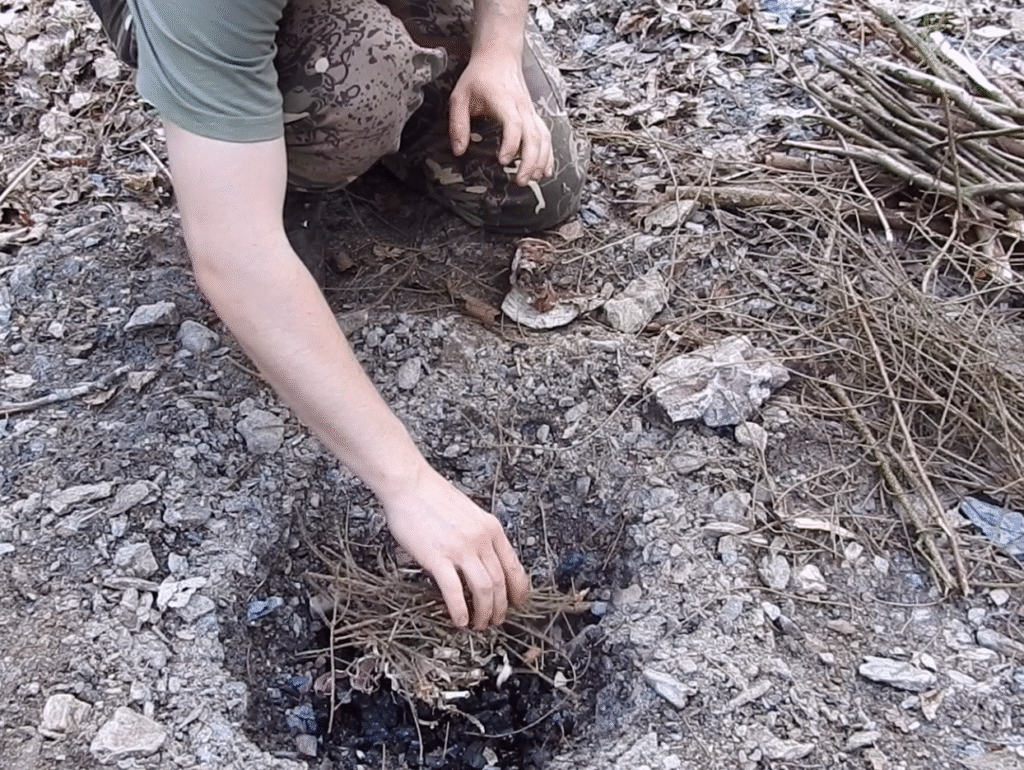
You have found a suitable place, made a fireplace with a cooking station and you finally lit a fire. Now, when flames slowly turn wood into embers, we can finally get to cook something! Stay tuned for the next article — this time I’ll share some recipes with you.