Not every place you’ll end up in will have the infrastructure for making food. In this article, I’ll tell you how to prepare a fireplace to cook on. All types of cooking stations will be based on digging in the ground and making simple structures out of wood and stone.
Preparing the fire pit
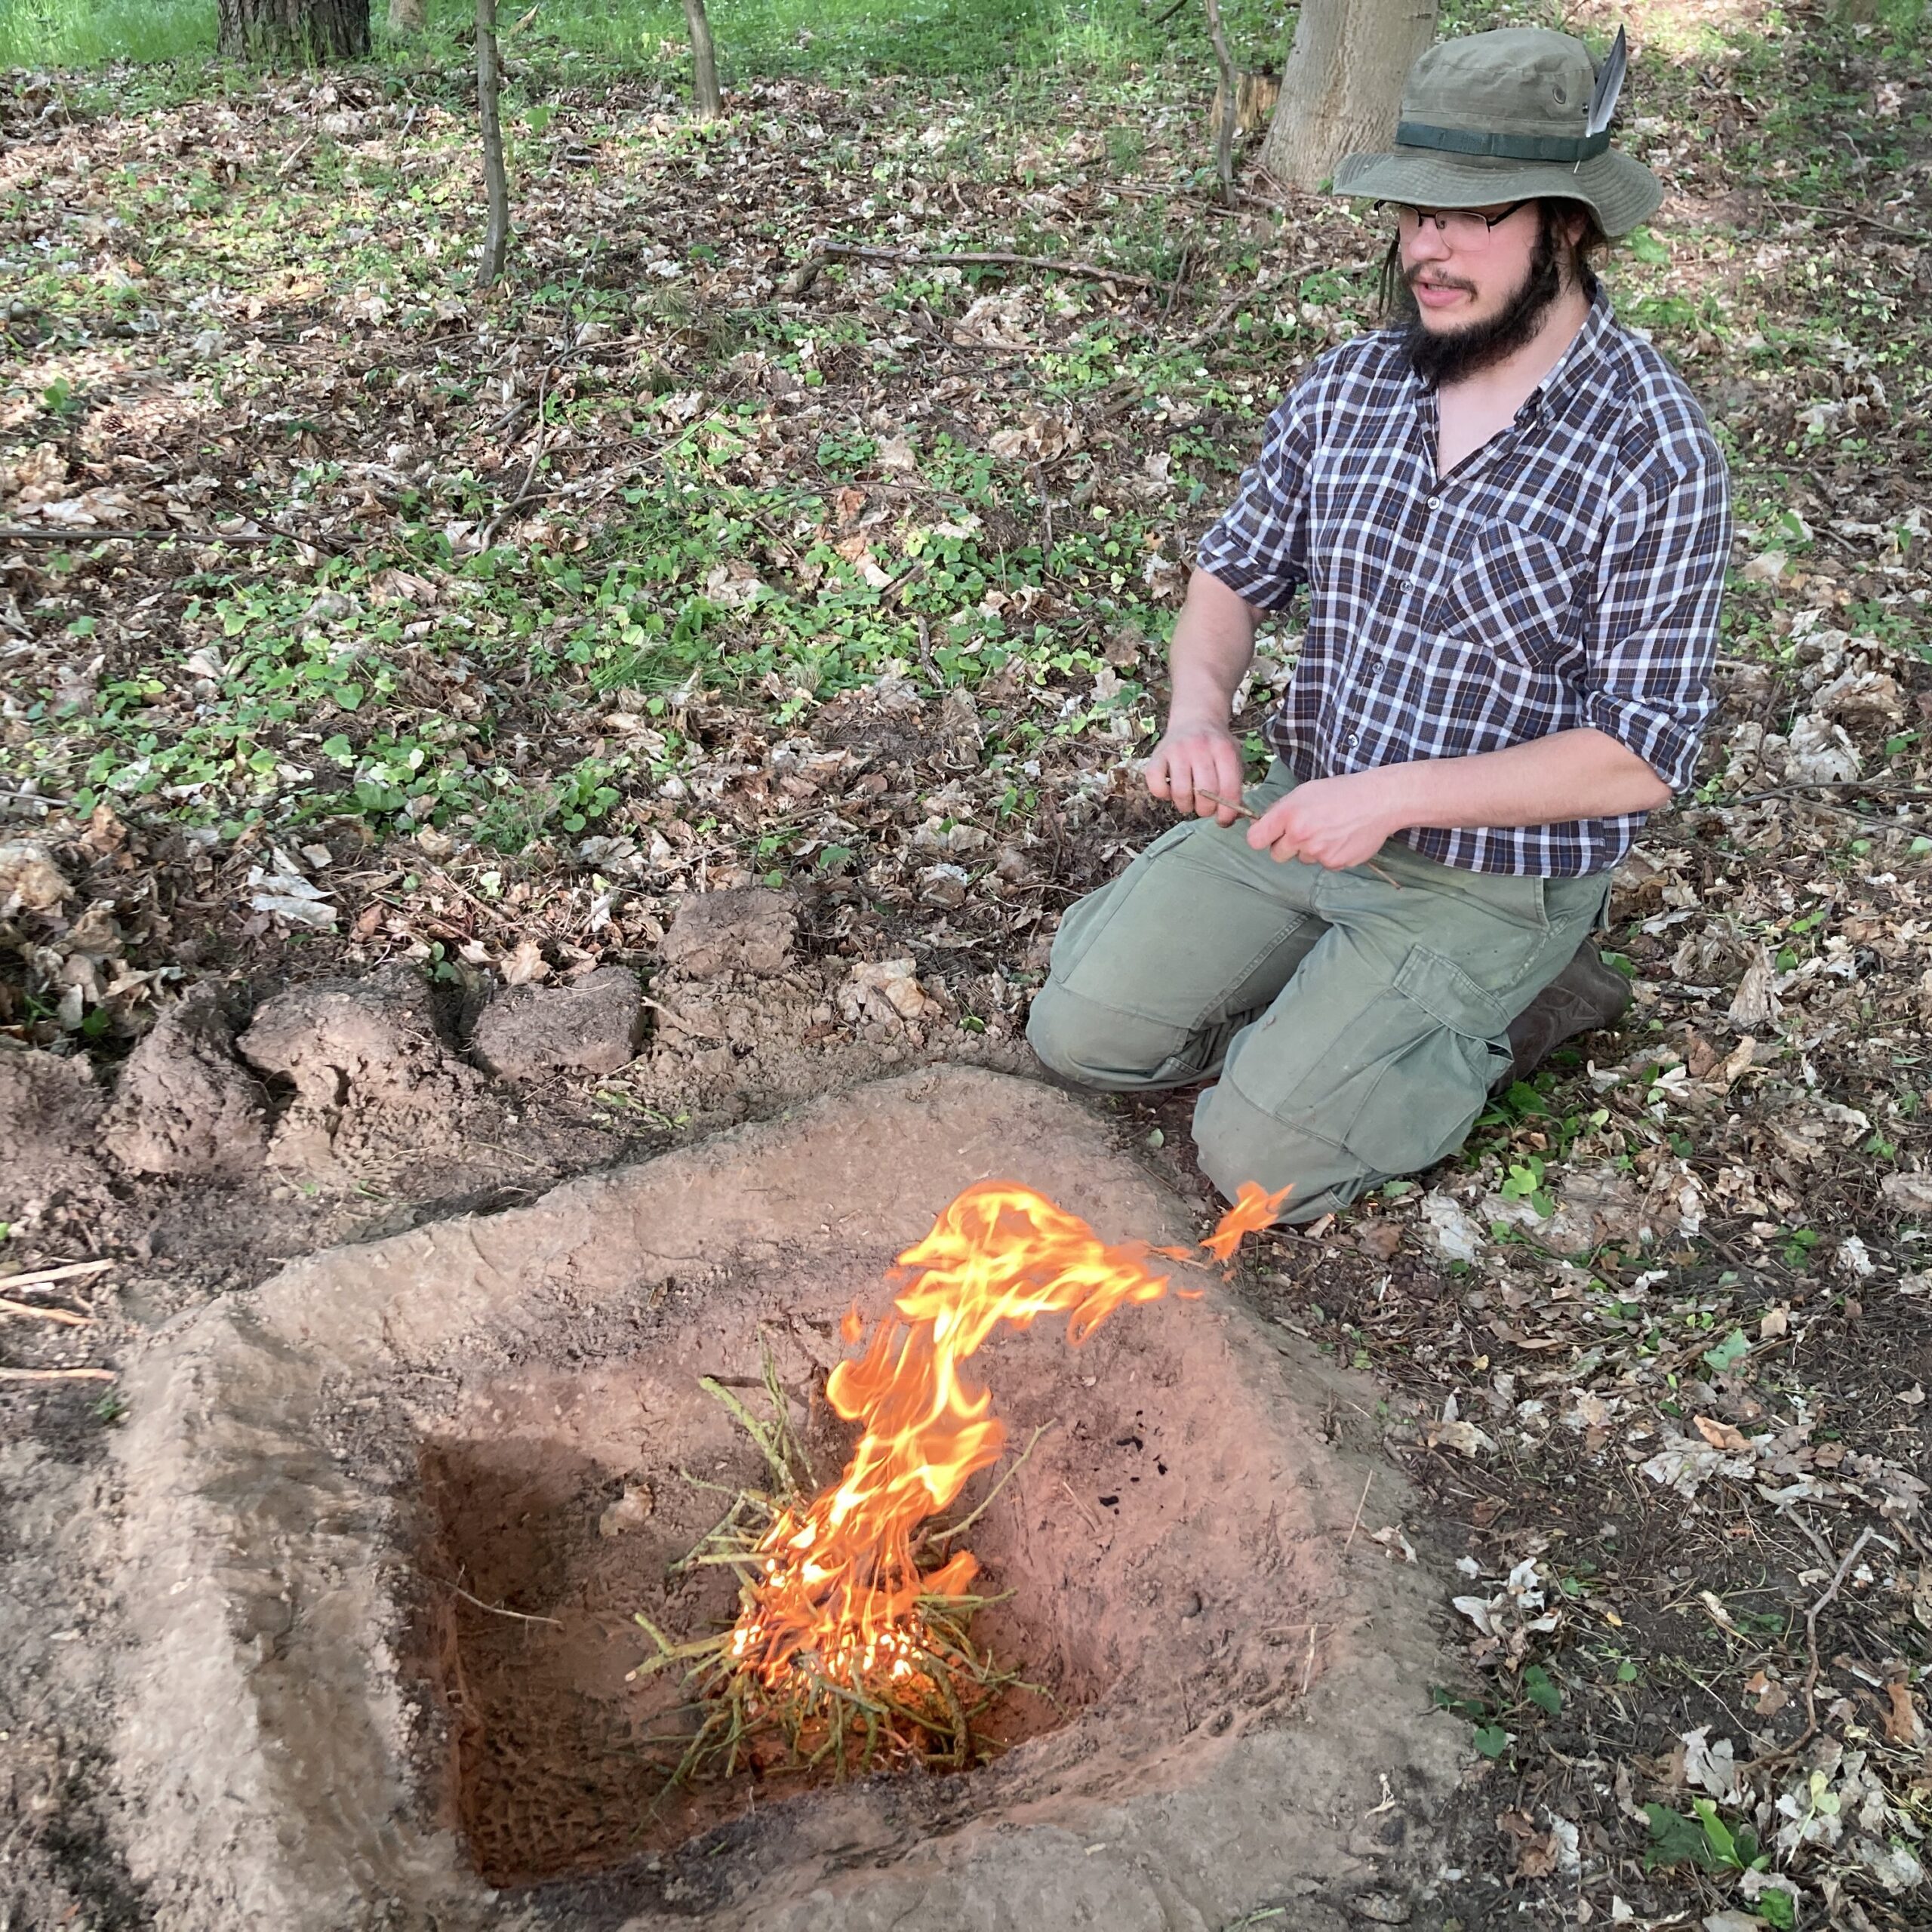
The most important thing to start with is removing all the vegetation and flammable material from the spot you’ll light the fire on. Clear the ground around your planned pit with about 0.5 m margin to prevent unwanted ignition – flames shifted by wind, sparks, or just the temperature can cause the vegetation to catch fire. If your fire is going to be really huge (base diameter of about 1,5 m or larger) increase the margin – the flame and temperature will be way higher.
Then, if possible, you should dig into the ground to create your pit. Try to cut large chunks or bricks out of the ground’s top layer and set them aside, cause you’ll need them later to camouflage the pit in order to leave no trace. Use all the remaining earth to create banks around the pit. The banks will prevent the fire from spreading and in case of emergency you can use them to quickly extinguish the fire by kicking them into it.
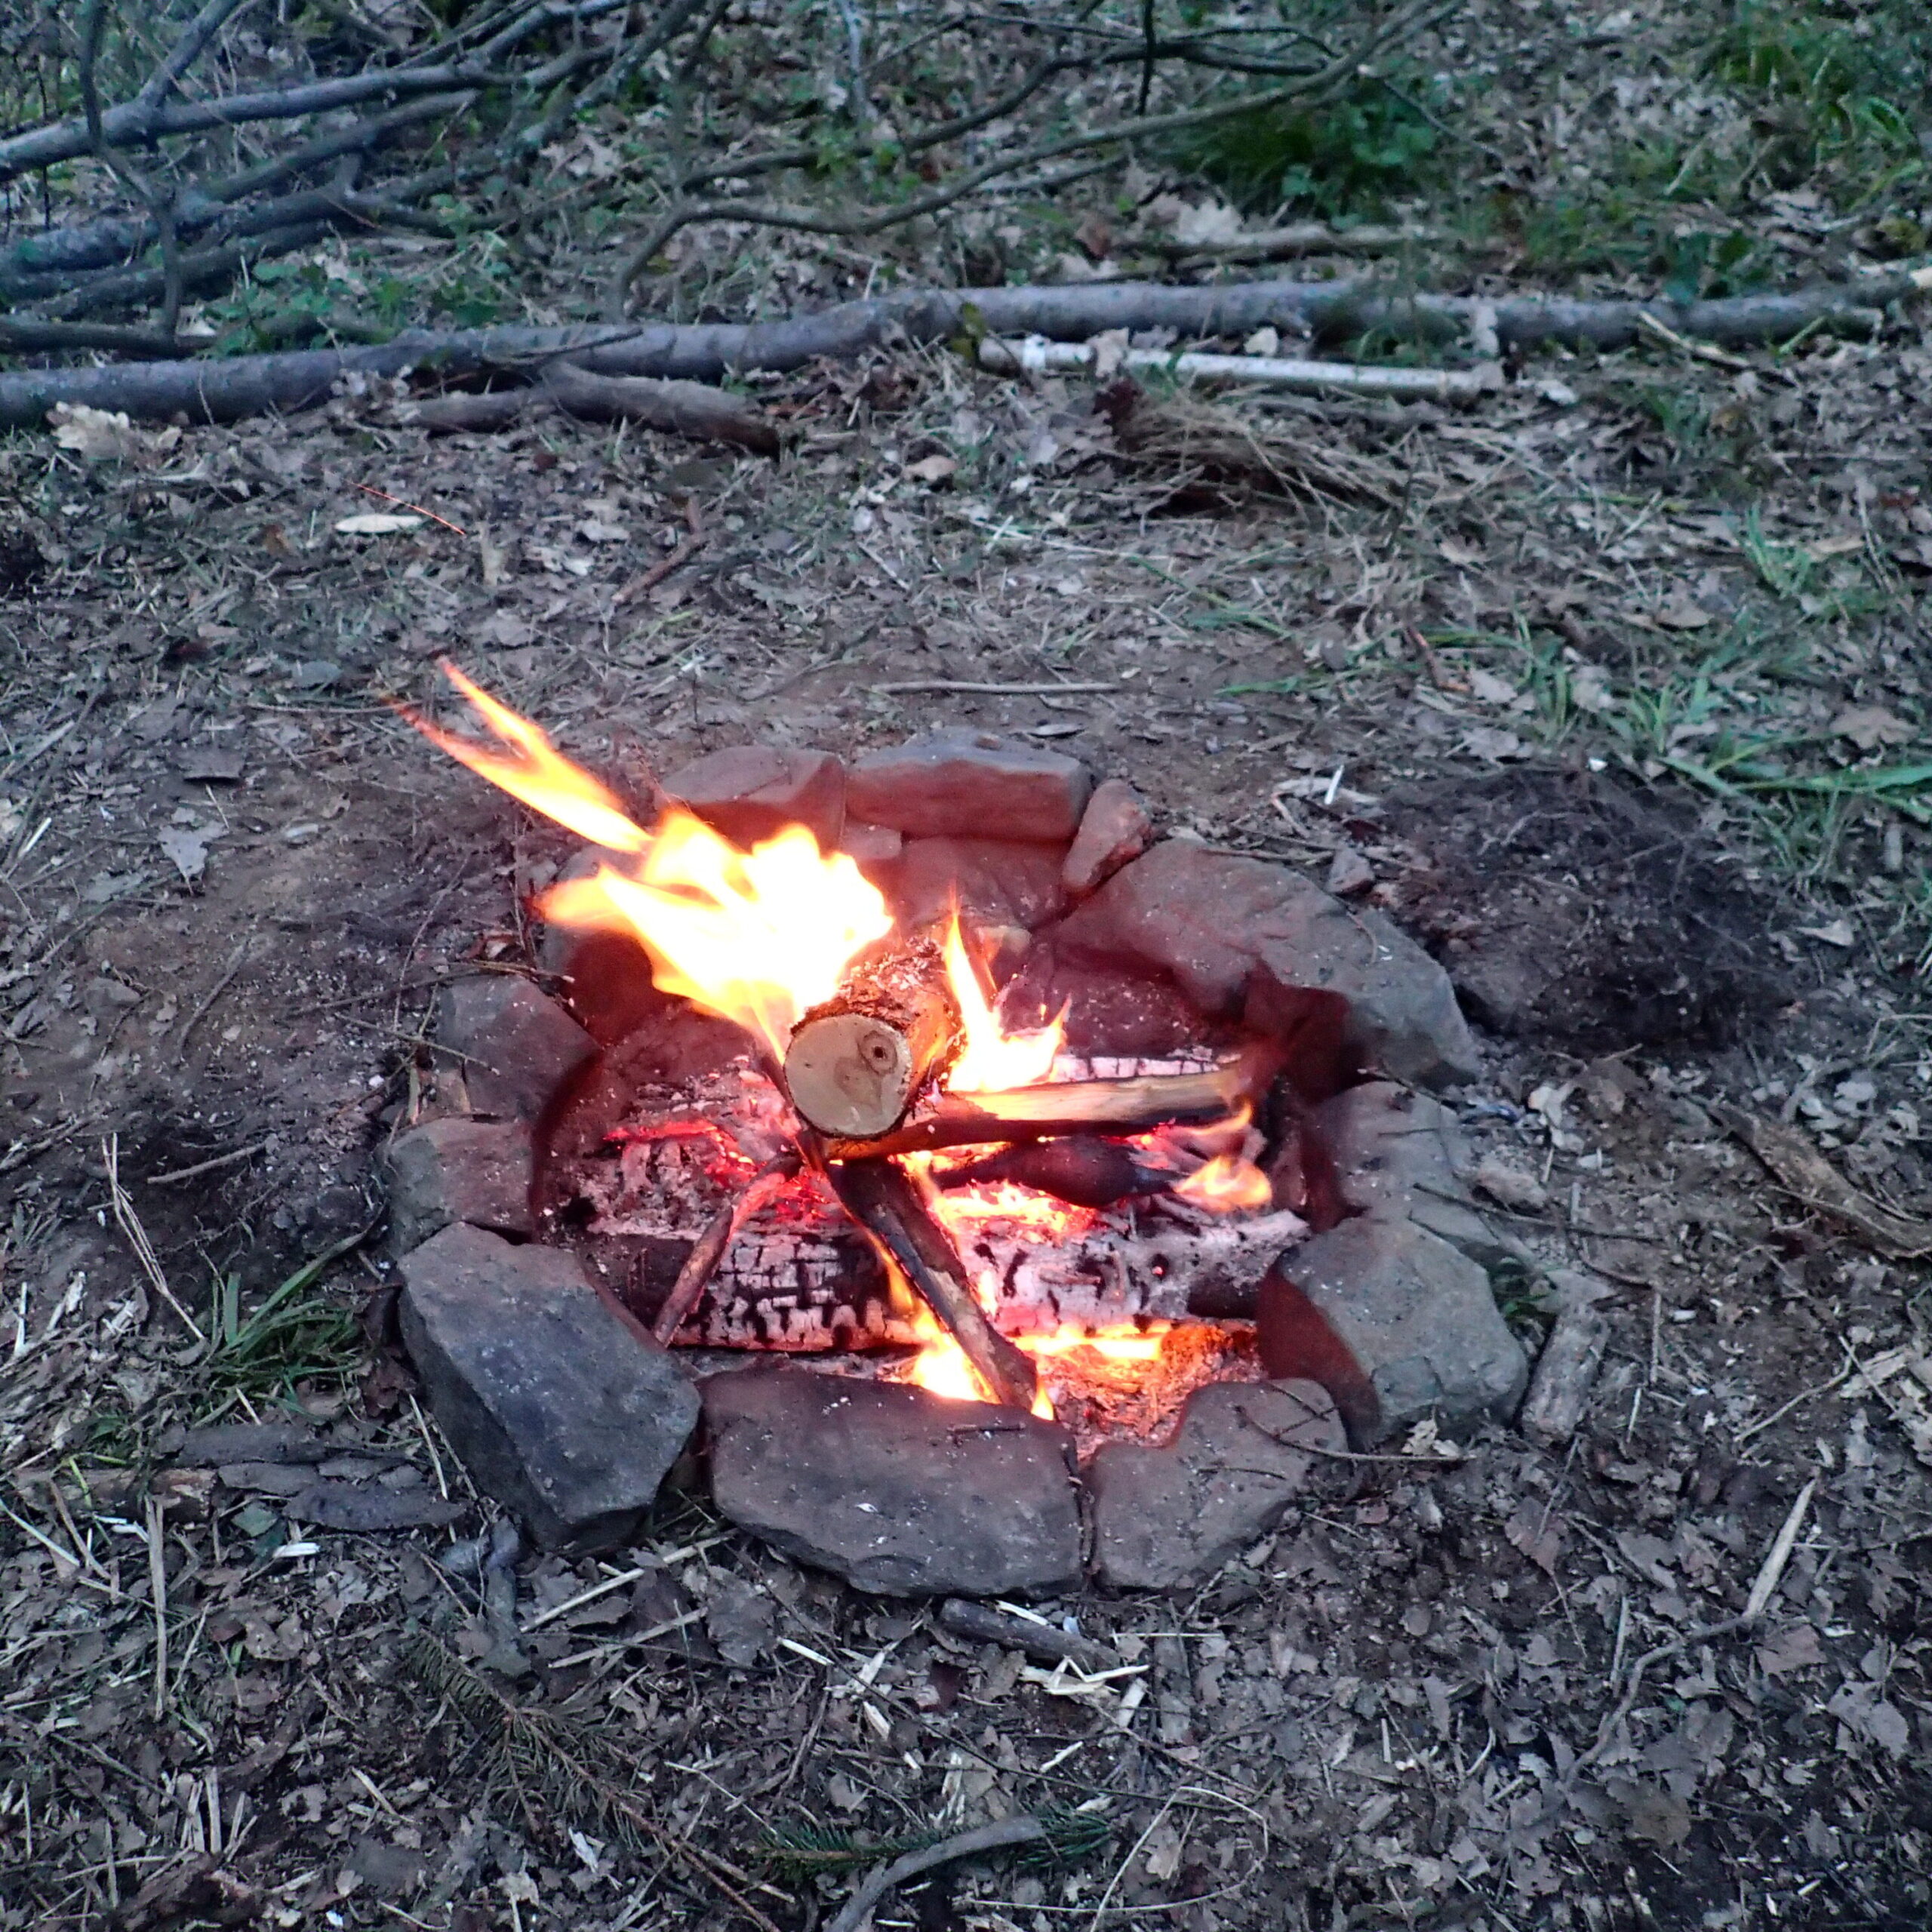
The other common practice is placing rocks around your fire pit. It’s especially helpful on the rocky ground, where it’s impossible or very hard to dig. The rocks will act the same way as the earthen banks do, but they have one huge advantage – when heated, rocks can be used as a cooking surface. They will retain heat for a long time, so you can grill and boil stuff with them. Just remember not to use rocks soaked with water (e.g. from the river or lake) because the water inside them will heat up, expand, and cause them to explode.
Preparing the cooking station
Even a fire with no prepared structures can be used to cook some stuff. You can roast things over it on a stick, push covered pots into it to boil, or use the embers to roast or bake.
However, there are a few ways in which you can upgrade your fire pit to turn it into a proper cooking station. Here are some basic examples:
The “Whistle”
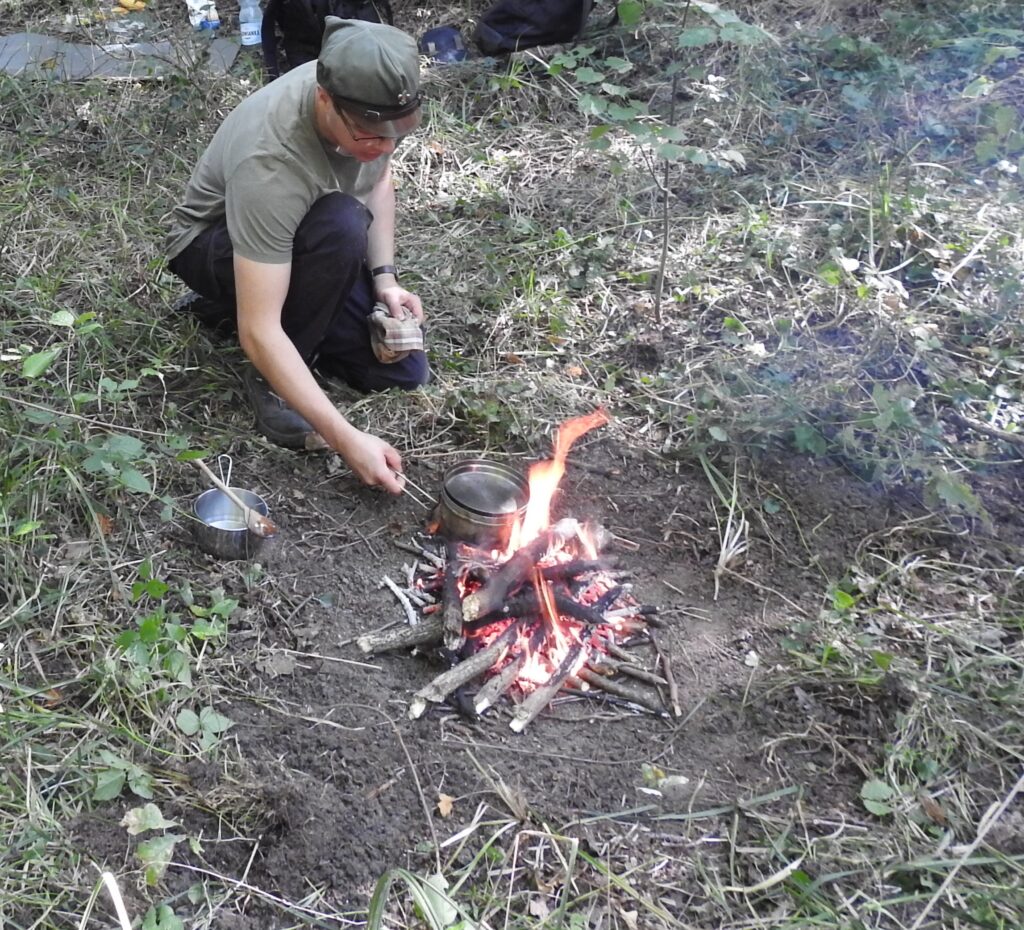
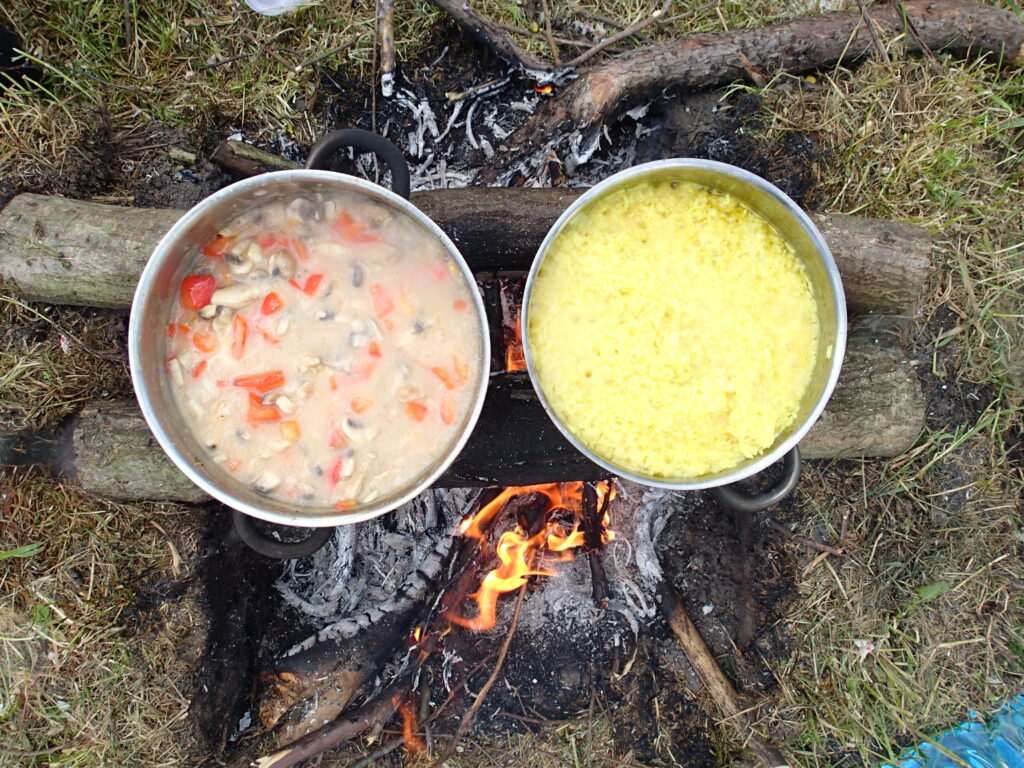
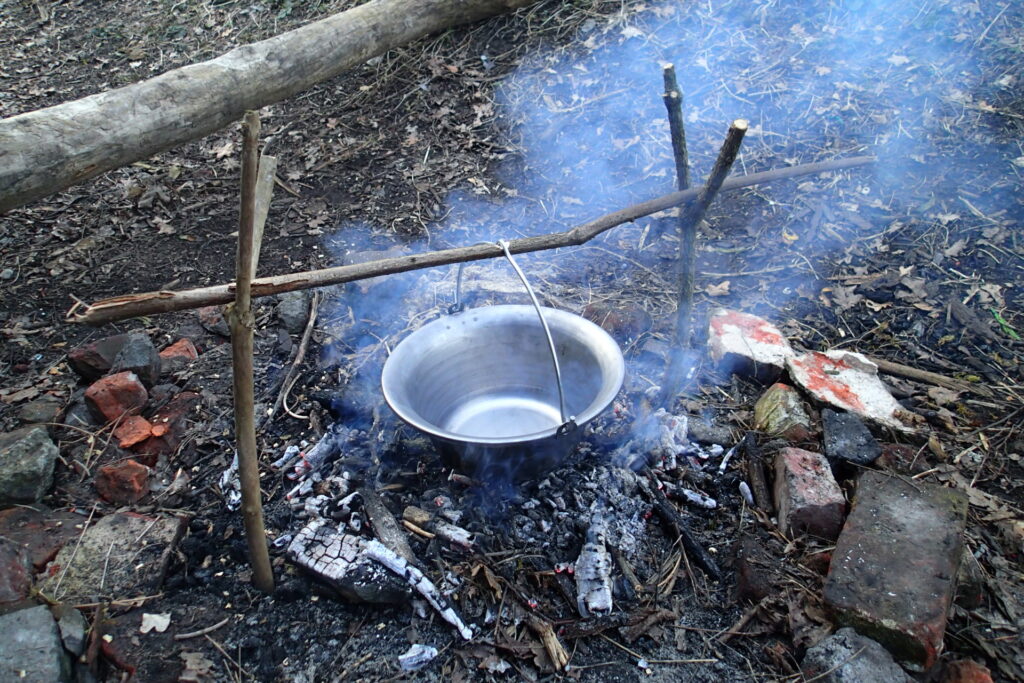
You should place two metal rods or fresh wood branches across the hole and over the fire. You can put your pot or pan on top of the rods and the fire will heat them up from the bottom. You can feed the fire from both sides of the hole. Instead of making a hole you can also place two thick pieces of wood or large rocks on the sides of your fire, then you can set your rods or branches on top of them.
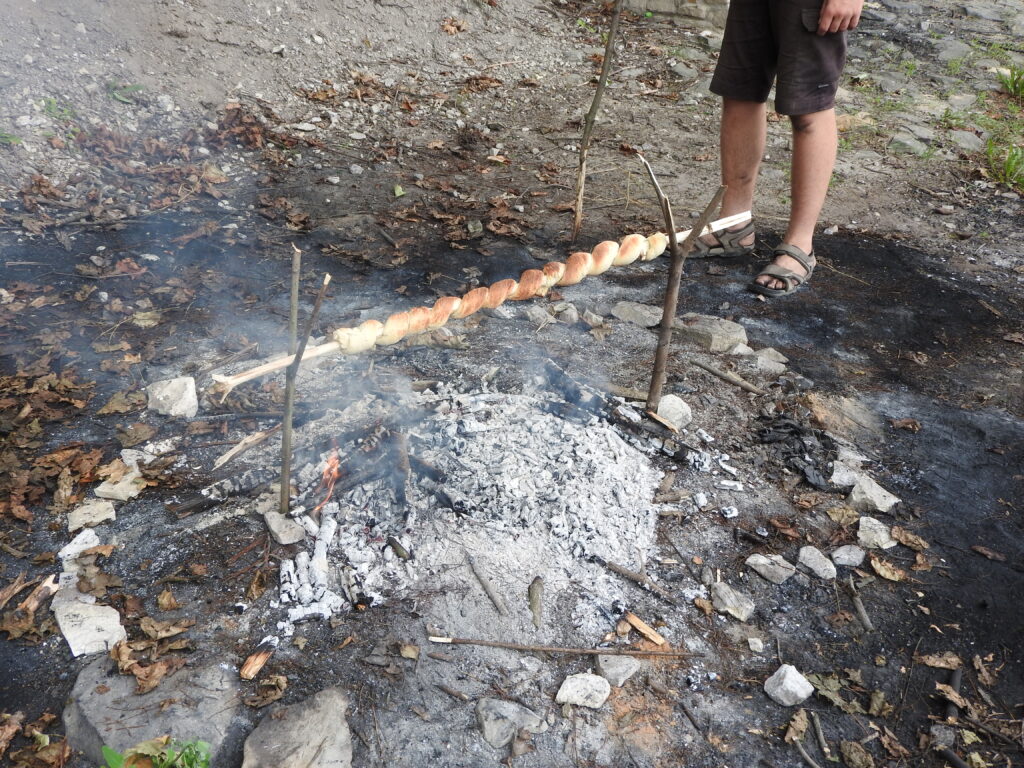
The spit
Take two forked branches and stick them into the ground on the opposite sides of your fire pit, forked side up. Then find a straight stick, debark it and use as your broach. You can stick some dough to the broach to make a “bread snake” or sharpen the stick and pierce meat or fruit with it. After you place your ingredients on the broach, put its ends on both forked branches and over the fire or preferably hot embers. Make sure to rotate the broach frequently to prevent overcooking or burning on one side.
Spit for pots
Make the spit as described above, but you don’t have to debark the broach. Instead, make a few notches for the pot holds to rest on. You can also make a hook which will allow you to adjust the height the pot is hanging on.
Tripod
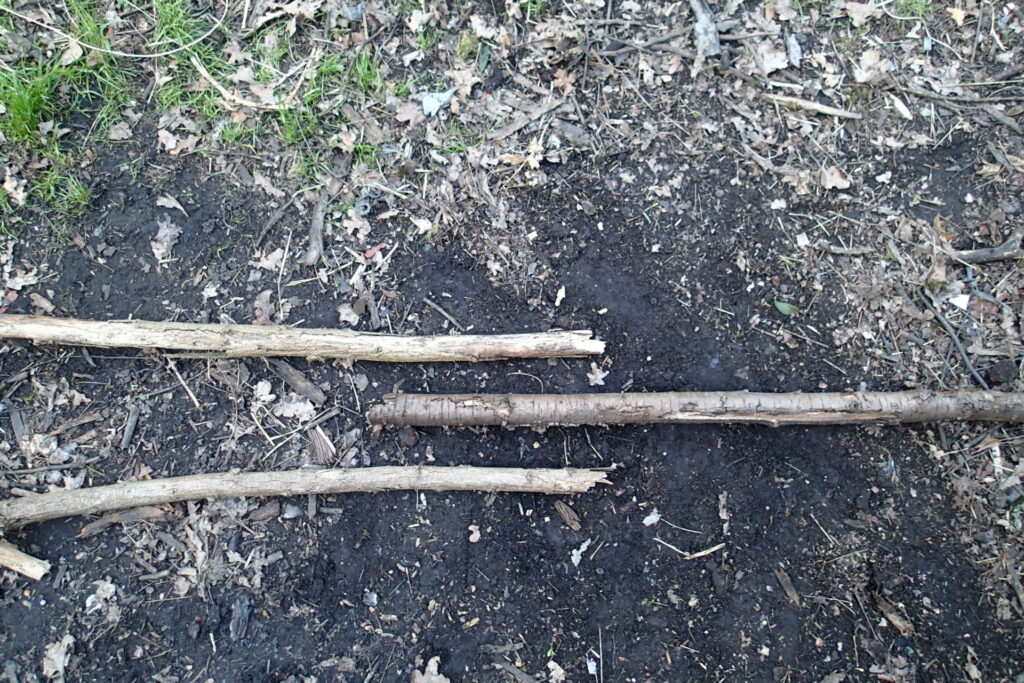
Take three straight, robust branches of equal length. Their length should be about equal to your height (it’s always better to have a bigger tripod than a smaller one). Place their ends in a way presented in the photo below.
Then take a cord and wrap it around branches ends as shown below.
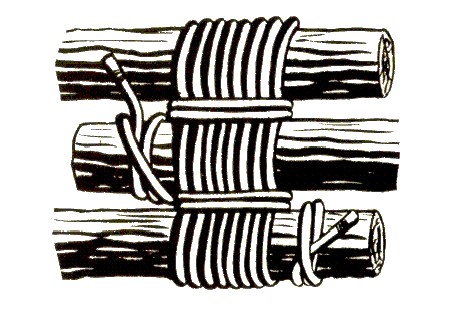
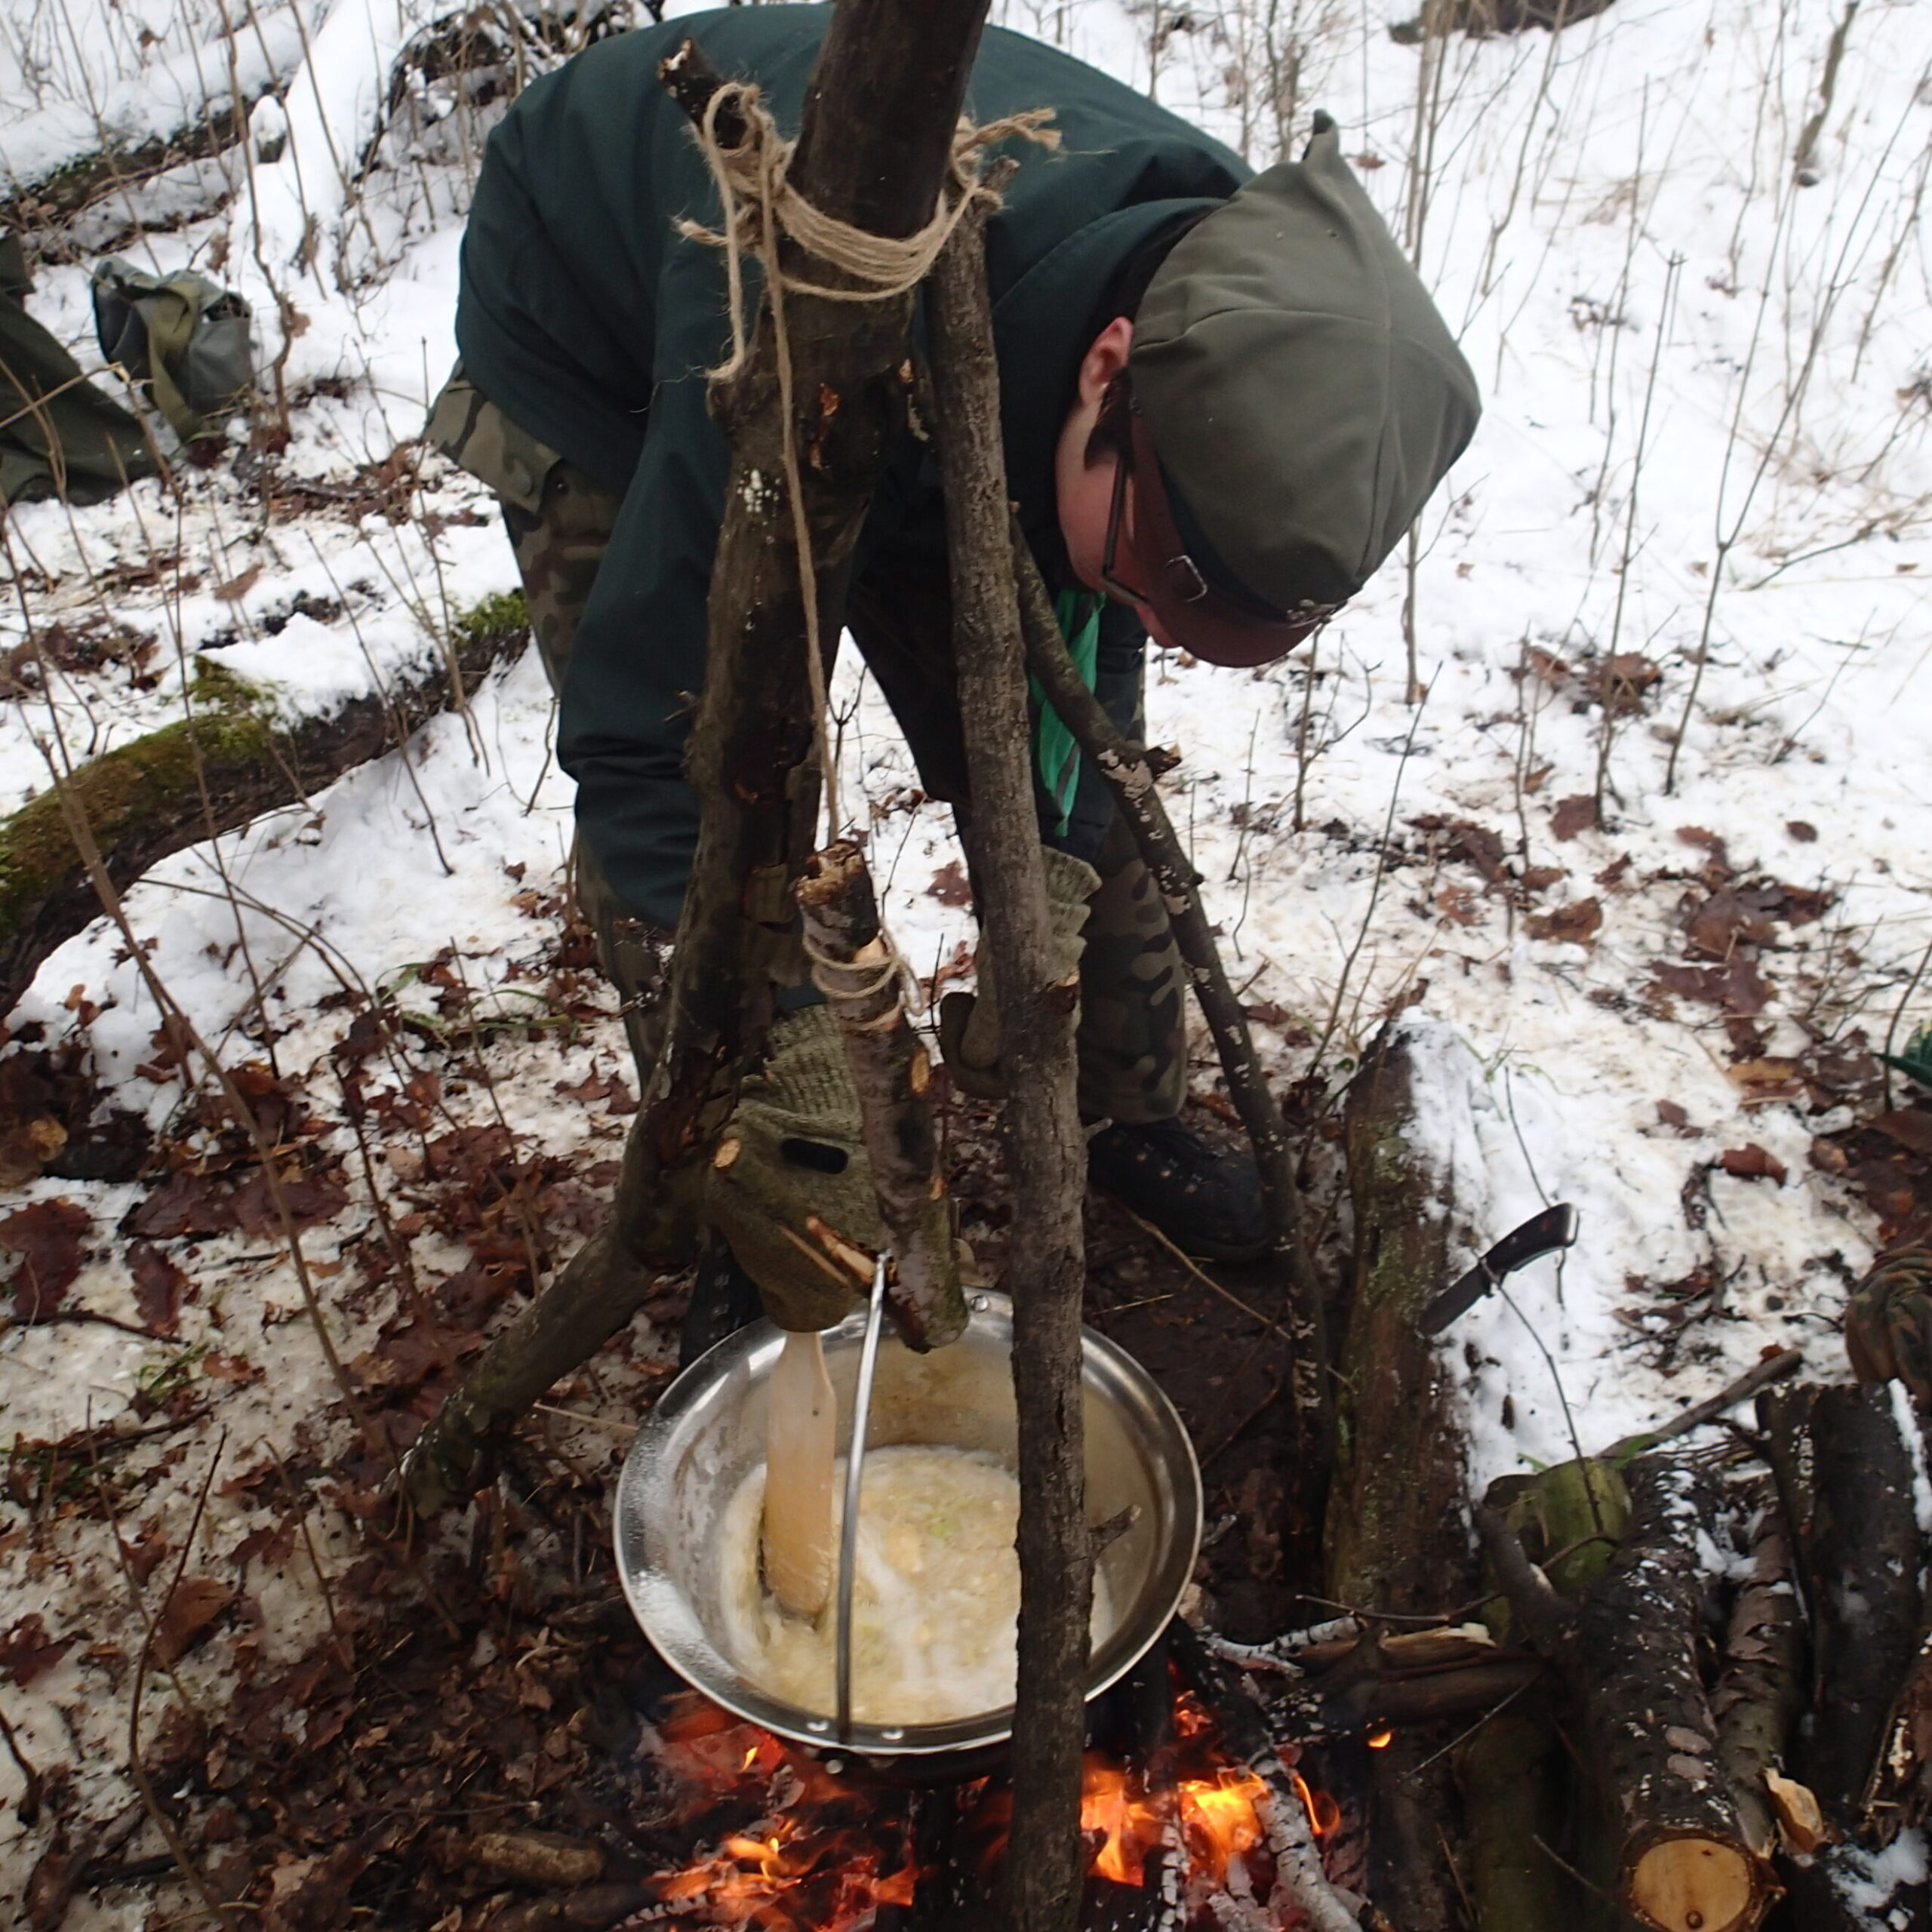
Tie the knot to finish the binding and set the tripod up, making sure the branches are stable, resting on each other. You can make a rack between the tripod legs or hang a pot from it using some cord and a hook.
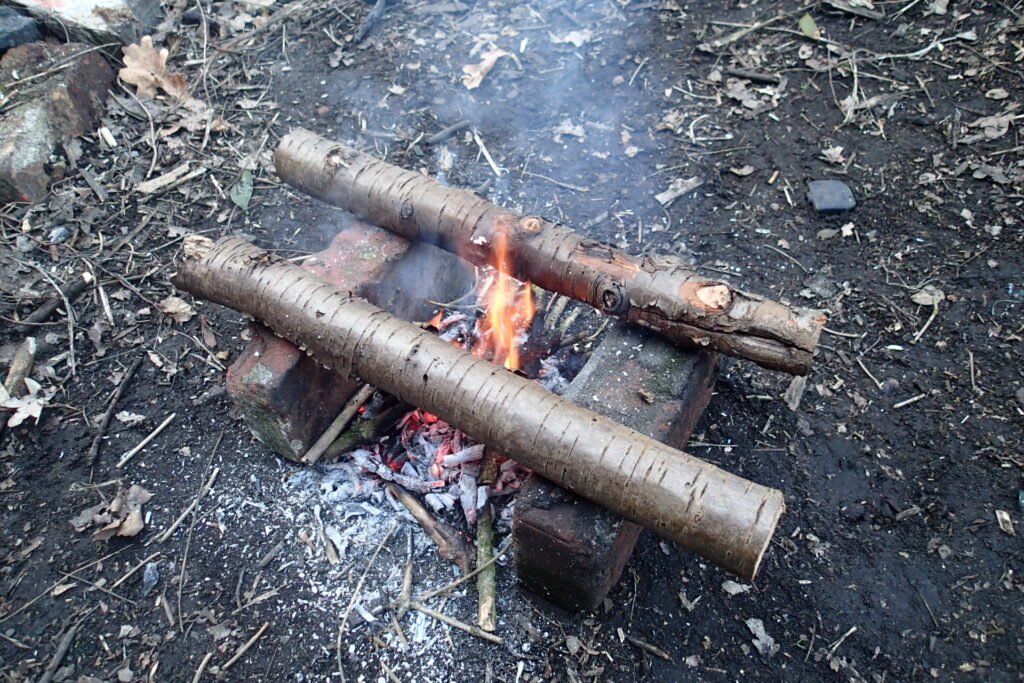
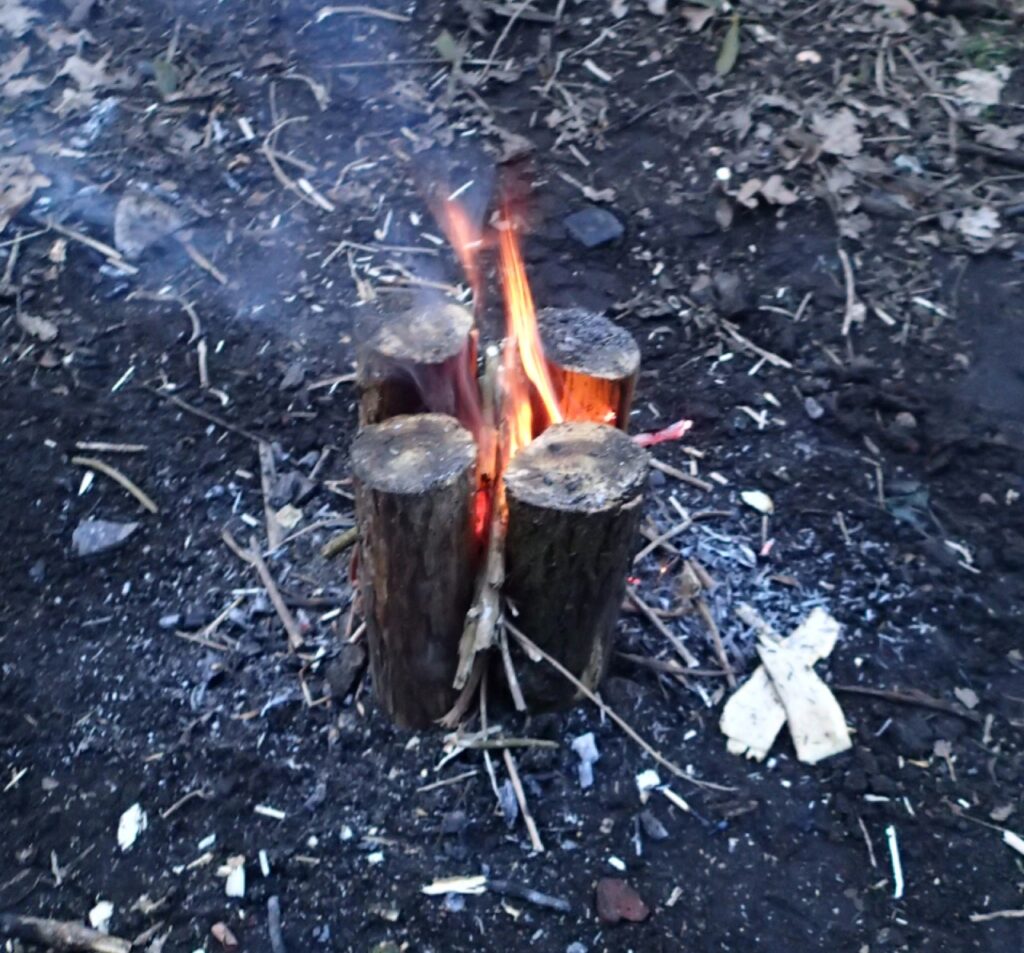
Swedish log-style campfire
This one is just four thick logs placed close together, forming a 2 by 2 log square. The logs have to be dry, seasoned and of the same length. Then place your tinder in the middle hole, light it and wait for the inside part of the log square to catch fire. Then you can simply place a pot or pan on top of the fire – it will burn for a long time and produce a lot of heat, helping you cook efficiently. For better stability, you can embed the logs slightly into the ground.
If you have a good saw you can also make an original “Swedish log” – simply cut the log lengthwise almost to the bottom of it. Your cuts should form an “X” shape on the top cross-section. Then place some tinder inside the cuts and light it on fire – it won’t be as powerful as the previous one, but it will require a quarter of material needed for the first type.
The table problem
In most places, especially in the middle of the forest, you won’t find a proper table to prep your food. You can use a flat rock or a flat-topped tree stump for that purpose. If you didn’t bring your cutting board you can improvise one with a slice of wood or a makeshift board made with a knife or axe. You can also carve a flat surface with a machete or axe in a trunk of a fallen tree if you happen to have one nearby. If you can’t make any of that, don’t worry – you can still cook wonderful dishes without a table or boards. You can cut the ingredients holding them in your hand, working with the blade against your thumb. You can also pre-cut all the ingredients at home. For mise en place (keeping your ingredients organised) you can use fresh, clean leaves of horseradish, burdock or other non-poisonous plants with large leaves. A clean cloth or just some small boxes/bags you took from home will work even better.
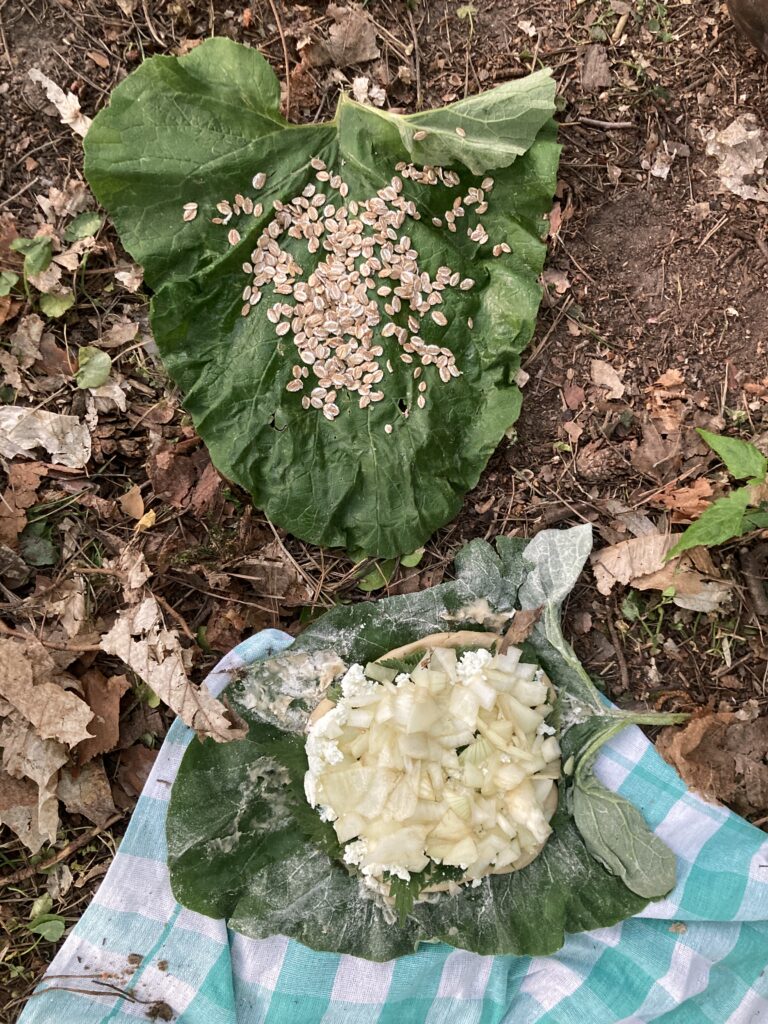
If you don’t have a table and are working on the ground, remember to put some cloth, blanket or poncho as a pad to lay your mise en place boxes/leaves on. This way you’ll prevent the mud, ash or leaves from the ground from polluting your food. Also accidentally dropping something on the ground won’t mean losing it.
For starters, that’s all you have to know about cooking stations. I’ll delve deeper into this topic in my upcoming articles and videos, but for now, try to practice with those few types of cooking stations. In the next article from the series, we will explore the topic of lighting the fire – it seems simple, but it’s quite a complex topic, which in my opinion, should be tackled separately.